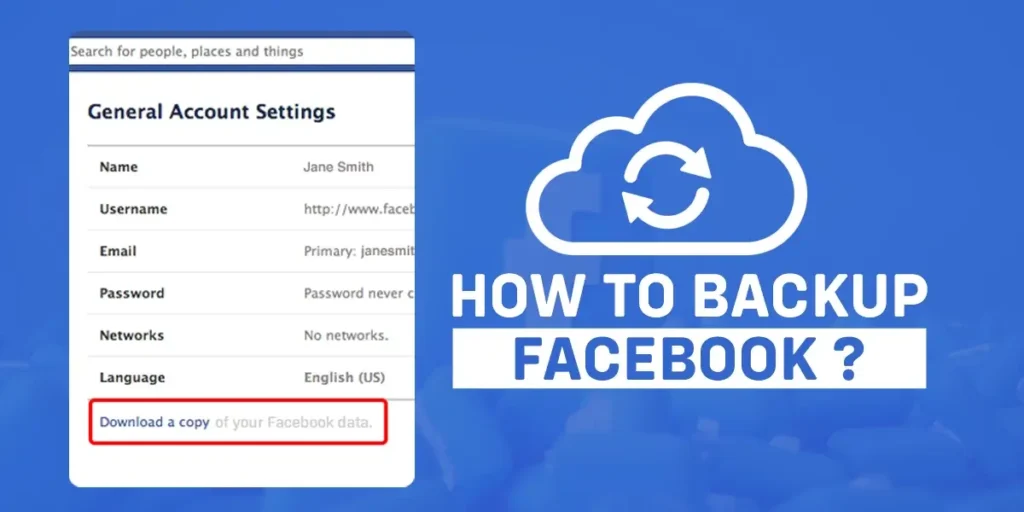
Are you worried about losing your Facebook data? Do you want to back up your Facebook? Don’t worry. This article will provide all the necessary guides to back up your Facebook.
Answer:
To back up Facebook, follow these steps: Go to “Settings and Privacy” > “Settings” > “Profile settings” > “Download Your Information.” Add or remove data categories, set date range, format (HTML or JSON), and media quality. Click “CREATE FILE” to confirm. After Facebook processes your request, access the backup from the “Available Copies” section. Please enter your password to download it to your device. The backup includes profiles, posts, media, messages, friends, settings, events, and interests. For iOS and desktop, follow similar steps in their respective apps or browsers.
This article provides a detailed step-by-step guide to backing up Facebook data through effective backup methods. Discover the significance of data backup, prioritize essential elements for backup, and learn the ropes for Android, iOS, or desktop PC. We’ll help you choose between HTML and JSON formats, ensuring your digital memories remain secure and accessible. Stay connected for valuable insights, and trust us with your data management needs.
What Does “Back Up” On Facebook Mean?
Having your data restored is made possible by backing up your account. For example, you might have sent Facebook a large amount of data. Your photos, chats, or pages are all examples of data. Occasionally, the data might be unintentionally deleted. In that case, you are unable to access your data.
Additionally, you might be preparing to deactivate the account and create a new one because you think the data will be permanently deleted once you click the delete button. How would you act in that situation? A good option might be to back up your data in these scenarios.
You can easily get your deleted information back and transfer it after creating a backup. We’ll briefly go over backing up processes in the following section.
Also Read: How To Fix “Your Account Has Been Locked” On Facebook?
What Data To Backup On Facebook?
When considering what data to back up on Facebook, preserving the information that holds personal and sentimental value is essential. Facebook offers a variety of content types, and you may want to prioritize certain aspects over others. Here’s a breakdown of what data to consider for backup:
- Profile: Save profile and cover photos.
- Posts: Download timeline posts and status updates.
- Media: Back up photo albums and videos.
- Messages: Preserve private messages and group chats.
- Friends: Document your friend list.
- Settings: Note privacy settings and preferences.
- Events: Download event check-ins and RSVPs.
- Interests: Record liked pages and interests.
Backing up these elements ensures you retain personal and sentimental data, providing a safety net for your digital memories. Use Facebook’s data download feature for easy retrieval.
Also Read: How To Turn Off Facebook Friend Suggestions?
How To Backup Facebook Data On Android?
Data can be backed up from the “Your Information” section under settings on Facebook. Here are the steps to back up Facebook data on Android:
Step 1: Launch Facebook
First, open the Facebook app on your Android device.
Log in To Your Facebook Account
Enter your email address/phone number and password to log in to your Facebook account on an Android device.
Step 2: Click On The Menu Bar
After logging into Facebook, select the menu bar (three short horizontal lines) in the top right corner to access a new page.
Step 3: Navigate To “Settings And Privacy” And Then “Settings”
Go to the bottom of the page to locate the settings and privacy section, then tap on the settings section to back up your Facebook data.
Step 4: Tap On The “Profile Settings”
Under the profile section, click on the profile settings.
Step 5: Tap On “Download Your Information”
Scroll down in the settings section to find your information, then tap on the “Download your information” section.
Step 6: Add Or Remove The Categories Of Data
After entering the “download your information” page, you will find all the data from Facebook. You can add or remove the data categories by tapping the circle on the right side of Facebook.
Note: Tap the circle on Facebook’s right side to remove the other categories if you only want to back up one type of data, such as photos or messages.
Step 7: Select The Options
At the bottom of the page, you will find the three options:
1. Date range: You must choose the period to back up your data. When you tap on the date range option, a calendar will appear where you can specify the time frame.
2. Format: There are two categories of format available in the format option: HTML and JSON. Select one of the formats. The Facebook backup data will be in the format you select.
3. Media quality: There are three options for media quality: high, medium, and low. The quality of the media will determine the quality of the Facebook backup data you download.
Step 8: Tap On “Create File”
There is only one step left to back up Facebook after you have completed the previous steps. To confirm the download request, click the “Create File” button at the bottom of the page.
After you submit a download request, it will show up as “Pending” in the Available Copies section of the Download Your Information tool. It may take a few minutes to hours to finish processing your download request. Facebook will notify you once it has finished processing your download request.
Also Read: How To Unfollow Everyone On Facebook At Once?
How To Backup Facebook On An iOS Device?
On the iOS version of the Facebook app, some features are different. For example, you can back up Facebook data on an iOS device by following the steps below.
Step 1: Open Facebook
Launch the Facebook application on your iOS device.
Step 2: Click On Menu Bar
Then, click on the menu bar (i.e., three short horizontal lines) option on the bottom right of the device.
Step 3: Click On Settings And Privacy
Tap on the settings and privacy section and tap on the settings option.
Step 4: Select On Download Your Information
Later, tap on “Download Your Information” under Your Facebook Information
Step 5: Tap Request A Download
Now, Tap on Request a Download. It will open up a new prompt where you must choose profile accounts to download data from.
Step 6: Select Facebook Profile
If you have linked any other Meta Platform account, then it will show various options; from those options, Select your Facebook Account.
Step 7: Select Your Data Preference
Select the categories of activities for which you want to back up information. Select the options, including date range, format, and media quality.
Step 8: Submit Request
Now tap on Submit Request, now it will automatically submit your Facebook data request.
Step 9: Create A File To Store Your Data
Click on the “Create file” option to download a copy of the information.
Step 10: Click On Download
Dinally, click on the Download button. The download may take a few minutes.
When a download option appears on the screen, click it to save the files to your device. As a result, you can easily back up your data whenever you want.
Also Read: How To See Unsent Messages On Messenger?
How To Backup Facebook Data On A Desktop PC?
There are simple steps to get backup data on a desktop PC.
Step 1: Log in Facebook Account Through Browser
Go to the Chrome browser and type www.facebook.com into the address bar to log in to your Facebook account. Next, enter your password and email address or phone number.
Step 2: Click On Your Profile Picture
Tap on your Facebook profile picture in the top right corner.
Step 3: Then Click On “Settings And Privacy”
Once you click the settings and privacy section, you will find the settings option.
Step 4: Tap On Settings
Later, click on the settings section from the available options.
Step 5: Go To Privacy
Now, tap on privacy from the left corner and go to the next page.
Step 6: Click On “Your Facebook Information.”
Options for settings are available in the left-hand vertical sidebar. For example, locate and tap on the section “Your Facebook Information.”
Step 7: Click on the “Download Your Information”
Click on the Download Your Information, or you can also click the “View” button to download your information. A new Meta prompt (page) will open.
Step 8: Click On The “Request A Download”
You can download a copy of the information at the bottom of the page. Later, click on the “request a download” option to download your copy of the information,
Step 9: Select Facebook Account
The prompt will give you options if you have linked your account with other Meta platforms like Instagram, WhatsApp, etc., or even your Facebook page. Select your Facebook Profile from the given options and press Next.
Step 10: Choose Your Data Preference
Again, a new prompt will appear where you have to choose your data preference,
1. Complete Copy: This copy will have every data stored in your Facebook account, which usually takes a long time to download.
2. Select Types Of Information: In this option, you will have the freedom to download which data you want to download; it can be Messages, Posts, Pages, Events, Friends, Interactions, and many other things. If you choose specifically, downloading your data takes less time.
Then Tap on Next to go to another page.
Step 11: Customize Date Range
Before submitting the data preference, please check your date range. Customize your date range according to the data you want from your Facebook account.
Step 12: Submit Request
Now tap on Submit Request, now it will automatically submit your Facebook data request.
Step 13: Navigate To “Available Files”
If your backup files are larger, wait a few minutes or hours. You’ll receive a notification from Facebook when the requested files are ready.
Step 14: Finally, Click On “Download”
When you click the download button, You have to enter your Facebook password for security reasons. Enter the password and click on the “confirm” option. Then, a copy of the information will be saved on your device.
Also Read: Why Is the “Add Friend” Button Not Showing On Facebook
How Can I Download My Facebook Backup Data?
Facebook will notify you once it has finished processing your download request. To download a copy of your Backup Data, you can follow these processes;
- Go to the “Available Copies” section of the Download Your Information section.
- Tap on the “download” option. Then, enter your Facebook “password” to proceed with the download.
- The backup data will download to your device’s storage.
By following these steps, you can effortlessly access and secure a copy of your Facebook Backup Data, ensuring your digital memories remain safeguarded and accessible whenever needed.
Also Read: How To Recover Deleted Messages On Messenger?
How Do I Delete Backup Facebook Data From Available Files?
If you want to delete that backup information from the available files, you can proceed through the following steps.
- Click on the ellipsis (three horizontal dots) next to the download option.
- Later, click the “Delete” option.
- Confirm by clicking on the “Delete” option.
You can request a copy anytime once you delete the information from the available files. Then, you can completely back up your Facebook data on a desktop PC.
Also Read: What Does Bump Mean On Facebook?
Which Format Is Best For Facebook Backup: HTML or JSON?:
When deciding between HTML and JSON formats for your Facebook data backup, consider the trade-offs:
- HTML is user-friendly, presenting data in a human-readable format, ideal for easy access and visual content like images.
- JSON, being machine-readable, excels in data interchange and compatibility with various applications, making it suitable for data transfer and integration into different software environments.
Choose HTML for user-friendliness and direct access, and opt for JSON when compatibility and data interchange with other platforms is paramount. Your choice should align with your specific backup needs and future data usage.
Also Read: How To Repost On Facebook?
Frequently Asked Questions (FAQs)
After reading the article in the above section, you might have questions about the backup of Facebook data. First, however, here are some possible answers from the frequently asked questions section regarding your questions.
How Much Time Does It Take To Back Up My Facebook Data?
Although several sources claim to have their backups available in as little as ten minutes, downloading the backup data can take a few minutes to a few hours. You can save a copy of the information to your device after clicking the download button.
Which Format Is Best, HTML Or JSON?
The format depends on you, but you should be familiar with HTML and JSON formats before asking for Facebook information to be backed up. However, you can easily view your data in HTML format, and after opening and extracting the data, you’ll get a ZIP file. Any images or videos you’ve requested will be in the ZIP file’s folders.
But if you want to upload your data to another service, the JSON format makes it possible because the JSON format is machine-readable.
What Happens When I Select High Media Quality When Requesting A Copy Of Information?
When you request a copy of your information, you can specify the resolution quality of your media files (photos, videos). A higher quality version of your media will require a larger download and more storage space.
What Are The Conditions Under Which Facebook Data Cannot Be Backed Up?
When you download your information, your download won’t include information that someone else shared, like another person’s photos you are tagged in.
Can I Back up Facebook Photos Only?
Yes, you can easily back up Facebook photos. You can follow the steps outlined below to back up your photos. To download the backup posts and images to your device, choose the “post” category before pressing the “create files” button.
Conclusion
Finally, we hope the article “How to Backup Facebook?” was helpful and informative. You’ve learned the significance of data backup and which elements to prioritize when deciding what data to back up on Facebook.
Detailed guides for Android, iOS, and desktop PC users, using both HTML and JSON formats, enable you to navigate the backup process seamlessly. You also know how to download and manage your Facebook backup data and delete backup files when necessary.
For further assistance, visit Onlinehelpguide.com. Your data’s safety and accessibility are paramount, and we’re here to support you in securing your digital memories. Stay connected for more valuable insights. Thank you for entrusting us with your data management needs.

