Are you still using a third-party software to record your Computer Screen? Though they provide good build-in features along with the screen recording, you have to pay certain bucks to access those features and use the software. Besides, you can also use the free version of the screen recording, but they also come with a limited-time, watermark, and even hard to use. Luckily, if you have a Windows 10 operating system and don’t want to use any recording software, then you can access its built-in screen recording tools. And today, we are here to learn about the easy methods to record screens on Windows 10 without using third-party software.
Windows 10 offers lots of pretty good features for the users. You might still use some of the handful of features of Windows in your daily routine, but you haven’t fully discovered all the features. Some of them are hidden, and only a few Windows users know about them. Here, built-in screen recording tools in Windows 10 called Xbox Game Bar and Microsoft PowerPoint is one of them. These tools are so easy to handle and use – plus, you even don’t have to worry about the watermarks. Yes, I know the watermark from the software on video is so frustrating to see. That’s why we are here to provide a guide regarding the Windows 10 screen recording in this article.
Now, without any further delay, let’s see how can we record the screen in Windows 10 without using third-party software.
How to Record Screen on Windows 10 Without Any Software
Now open your computer and get ready to use the free built-in screen recording. First, we start with the Windows Xbox Game Bar and then afterward on Microsoft PowerPoint.
Xbox Game Bar
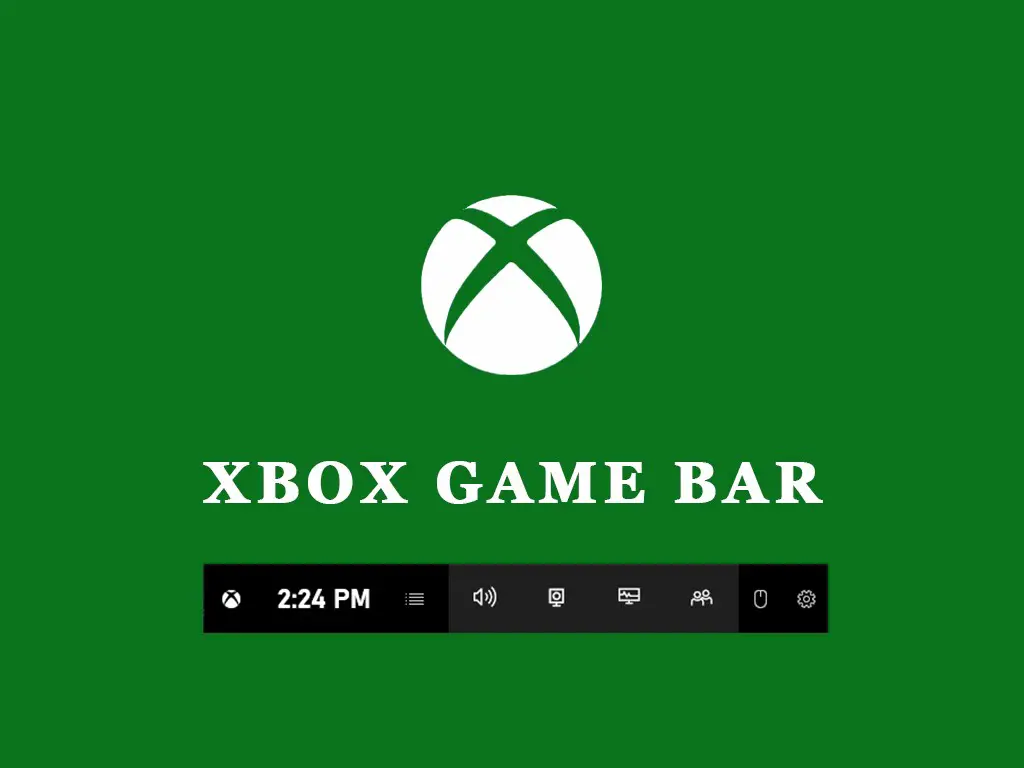
Xbox Game Bar is the first method for screen recording in Windows 10. It is easy to use and gives pretty much good results or a video or screenshot. But unfortunately, this tool can’t work to record the entire desktop or a file explorer. Besides, it perfectly works on regular apps such as Windows app or any downloadable apps. You can also record your browser activities such as Chrome, Firefox, and more. So, Xbox is a pretty wide-open recording tool in Windows 10.
Now, let’s move on to the simple steps to use the Xbox tool on your computer.
- Go to the Windows 10 search located at the bottom left side of the screen.
- Now, type Xbox Game Bar and open the tool. You can also Press Win Key + G for the shortcut.
- After that, there are few options, such as Widget Menu, Sound, Capture, Performance, Xbox Social, and Setting. So among these options, choose Capture one for the recording purpose.
- After that, again, you will see a few options like Take a screenshot, Start recording, and Turn-on audio.
- Now, open either Windows apps or your browser for the recording purpose and click on the Start recording option. You can also press Win + Alt + R key for the shortcut.
- Once you are done with the recording, again press the same button to stop the recording.
- Now, to see the recorded video, go to the file explorer and open the Videos section. There you will see your recorded video with pretty good quality.
So this is it. And that’s how you can easily record your screen in Windows 10 without using a third-party application.
Besides, you can also use the Xbox Game Bar for the live broadcast. For that, you need your own Xbox Live account. Sign-in into your account, set-up your account by agreeing on the terms and conditions, and start a live broadcast.
That’s all for the Xbox Game Box recording tool. Now we head to another free build-in screen recording tool In Windows 10, which doesn’t require any third-party software.
Xbox Game Bar Shortcut Keys
Here are some of the essential shortcut keys if you use the Xbox Gamebar for video recording or for gaming. The good factor about these shortcut keys is you don’t have to open the app or follow additional steps to access the features.
Now, have a little look at these Xbox Game Bar shortcut keys.
- Open Gamebar: Win + G
- Start and Stop recording: Win + Alt + R
- Start and Stop microphone recording: Win + Alt + M
- Show Camera Broadcast: Win + Alt + W
- Take a screenshot: Win + Alt + PrntScr
- Record last few moments in Gameplay: Win + Alt + G
- Start and Pause the Broadcast: Win + Alt + B
Microsoft PowerPoint
 Most Windows users are aware of the Windows 10 PowerPoint screen recording option. Even I don’t know about this option until one day; I saw my friend using this option to record the screen. I was amazed at that time because I always use third-party software for screen recording. So from that day, the Microsoft PowerPoint screen recording option is very useful for me to record any screen. Any screen? Yes, you can record any screen such as desktop, file explorer, and browser – anything you want.
The good part of the Windows 10 PowerPoint recording option is you can use it for free – until you have an activation time. You can easily record your screen with just the help of a few steps. So let’s see those simple steps down below.
- Open the PowerPoint on your computer.
- Click on the Insert tab section and then select the Screen Recording option.
- After that, you will see the toolbar, which consists of records and other options. You can either record only a certain part of the screen or the entire screen.
- So, to record the entire screen, press the Win + Shift + F key on your computer keyboard. After that, your recording starts so, records your desired screen.
- You can even click on the Pause button to halt your recording and again click on the start button to continue.
- Once you are done recording, then click on the Stop button to end the recording or capture.
- Now you have to save your recording, so for that, right-click on the video displayed within your PowerPoint. Then choose the Save Media as.. option and select your desired location on your computer.
Now, this way, you can easily record any screen with the help of Microsoft PowerPoint. The video is raw, so if you want some edit, then use other software because the editing options are very limited in PowerPoint.
You can use the video enhancement tool of PowerPoint, such as adding a border, changing the video shape, adding visual effects like glow, shadow, and more. This way, you will add more texture to your videos.
So these are the above easy methods to record screen in Windows 10 without using third-party software. But you can also use other alternative offline free software if you want more editing features for your professional work.
Also Read: How to Disable Cortana in Windows 10 Version 2004
Loom Video Recorder

The loom is another best way to record your computer screen. You can record or make any video using the Loom video recorder. But you have to either download or use its chrome extension to record the screen. I know it’s not a built-in tool in Windows 10, but in my opinion, the loom is one of the best ways to record the screen. I have been using the loom for a long time and still not even get the slightest disappointment.
As I already said, you can either download the loom application or use its chrome extension. If you don’t want trouble downloading, then loom extension can do the job.
Now, let’s see how you can record your computer screen using the loom.
Loom Chrome Extension
- Open your chrome browser and type Loom for Chrome.
- Now, click or visit the first page in the result. For easy access use this link.
- After that, click on Add to Chrome button which will add or install the loom in your chrome browser.
- Once the loom extension is added then it will appear at the top right corner beside the SERP.
- Simply, click on the loom extension, and click on the Red Start Recording button.
- Now, a separate screen will appear. From there choose the entire screen section and click on the Share button.
- Your screen recording will start in 3 seconds.
- To stop recording, press Alt + Shift + L.
You can find your recorded video on the new page of the loom.
Loom Features After the Recording
Once you are done with the screen recording then it automatically takes you to the new screen. In the new loom page, you can find your recent recorded video and various option to play with.
Okay now, let’s see what features you can use in Loom for your recorded video.
- You can preview the recorded video whether it’s completely recorded or not.
- Users can download the video by pressing the down arrow button below the video.
- You can delete the recorded video if you make any mistakes while recording.
- Loom also lets the users duplicate the video.
- Users can also get hands-on on the simple edit section such as trim, call to action, custom thumbnail.
- You can also send your recent recorded video to your friend. To do so, copy the video link and share it on social media or mail the link.
- If you don’t want to send the video then you can invite your friends to watch your recorded video. To do so, under the privacy section, click on Invite people and add the email address. You can also add the password so that only the selected users can watch the shared video.
Record Video Using Loom Desktop Application
- Download the app on your computer.
- Open the app and choose the option such as Screen+Cam, Screen only, Cam only.
- Once you choose the desired option, click the Start recording button.
- To stop the recording, press Alt + Shift+ L.
Also Read: How to Find Current WiFi Password on Laptop With Windows 10
Free Simple Software for Daily Screen Recording
If you want to use the enhanced screen recording tools which put glowing texture in your videos, then the best way to download one of these screen recording software mentioned down below. You can also use it on your Windows 10 for the screen recording.
OBS Studio [Free Screen Recording Software]
OBS Studio – basically the most popular open-source, more advanced screen recording software out there. It has a built-in streaming function that is best to broadcast your games live. Let’s say it’s a powerful program that offers great flexibility for users.
A program comes with great hardware supports that enable 60 frames per second videos. That’s quite impressive, isn’t for a free tool. You can record your video on a full screen without worry about the watermarks. OBS Studio also works best for the multiple screens set up – on the one hand, you can play your games and other hand you can observe your OBS display.
As I said earlier, it also works for streaming but only in a normal condition. It’s not that good for professional twitch streamers because of its power. Besides that, if your work is only to record normal gameplay and YouTube videos, then OBS Studio is an ideal option.
Active Presenter [Free Screen Recording Software]
A free all-in-one screen recorder software Active Presenter allows the users to record the full screen and windows in just a simple step. You also don’t get any watermark from the software in your videos, and there is also no time restriction.
Active Presenter has versatile features that allow you to trim, split, cut, change the speed and volume, animation, add closed caption, and more. That why we called it an All-in-one screen recorder. You can edit your video as you want for your YouTube channel – as it has a feature to directly upload your video to YouTube.
Frequently Asked Questions
Does Windows 10 Have Video Capture?
If you are a Windows 10 user then you can use Xbox Game Bar and Microsoft Powerpoint to capture videos or screens. You can use these two build-in tools to record your screen and make a video of your action in Windows 10. Besides, if you are a gamer then Xbox Game Bar is pretty helpful to create a game tutorial or live streaming.
Does Windows 10 Screen Recorder Capture Audio?
If you are using the Windows 10 recorder then it’s easy to capture audio without any disturbance. Xbox Game Bar lets your capture both video and audio in Windows 10. Press Win + G to open the Xbox Game Bar and start recording the audio.
How Long You can Record in Loom?
You can use the Loom video recording as long as you want. There’s is no time limitation in the Loom video recording. But every 2 hrs, loom check whether you are still recording or not, if you don’t confirm the message then it will automatically stop your recording. So look for the notice if you are making a longer video (2 hours+) in Loom.
Where to Find Recorded Videos on Loom?
To find the recorded video, go to the Loom library. Once you finish recording then all your automatically stored in the Loom library. From there, you can create a new folder for your different videos, download the video, Edit, Share, and more.
Can You Download the Video From Loom?
Loom Chrome Extension lets you download the recorded video. So, if you want to download your video from loom then use its chrome extension. From there, you can even share and edit recorded videos.
Conclusion
So that all, these are the two easy methods to record screen in Windows 10 without using third-party software. Use the above-mentioned screen recording tools, and if you think that it’s not enough, then move to other best screen recorder tools, which are basically made for Windows. Furthermore, you can also use the OBS Studio free program if you are a video game streamer or have a YouTube channel.
Once again, these above-mentioned screen recorders are only for a minor video recording – so except for great editing features on them.
Do the above-mentioned Windows 10 screen recording tools work for you? Or do you have any queries regarding our article? If so, then don’t hesitate to ask in the comment section down below. We will assist you as soon as possible.
Thanks for reading our article.

