You have bought a new computer; it is likely running Windows 10 Home running in that device. Now you need an upgrade from home to pro version because the Pro version of Windows 10 is definitely slightly better than home edition. So, in this article, I am going to teach you how to upgrade Windows 10 Home to Pro version.
What’s the Difference Between Windows Home and Pro?
The difference between home and pro do not mean much for regular users who use windows device for a basic task like, typing, editing, or surfing the internet. So, what is the difference, then? It’s the ability to use certain features that business users or professionals needs. Windows 10 Home version is better suited for regular users, whereas, the Pro version of windows is better for business users and professionals. Take a look at the image below for the difference between these two versions.
|
Feature |
Windows 10 Home | Windows 10 Pro |
|
Start Menu |
✓ |
✓ |
|
Cortana |
✓ |
✓ |
|
Battery Saver |
✓ |
✓ |
|
Windows Update |
✓ |
✓ |
|
Windows Hello |
✓ |
✓ |
|
Virtual Desktop |
✓ |
✓ |
|
Snap Assist |
✓ |
✓ |
|
Continuum |
✓ |
✓ |
|
Microsoft Edge |
✓ | ✓ |
|
Device Encryption |
✓ |
✓ |
|
Microsoft Passport |
✓ |
✓ |
|
Domain Join |
✖ |
✓ |
|
Group Policy Management |
✖ |
✓ |
|
Bitlocker |
✖ |
✓ |
|
Remote Desktop |
✖ |
✓ |
|
Device Guard |
✖ |
✓ |
|
Trusted Boot |
✖ |
✓ |
| Windows Store for Business | ✖ |
✓ |
|
Windows Update for Business |
✖ |
✓ |
|
Max Supported RAM |
128GB |
2TB |
| Price | $119 |
$119 |
How to Upgrade Windows 10 Home Edition to Windows 10 Pro Version
Once you decide to upgrade, there are two methods that you can choose to upgrade windows 10 home to windows 10 Pro. One is to delete all file and fresh install of Pro into your computer while the other is to install Windows 10 Pro version on top of Home version. Here in this article, we will be discussing both of these methods.
Upgrade Windows 10 Home to Pro via the Windows Store
Before going on to the steps to upgrade Windows 10 home to pro, make sure there aren’t any pending updated to your computer. Check for updates, simply go to the settings, you will see Windows Click on Update and Security. Now check for updates and update your computer if you have any.
- Make sure you don’t have any pending updates,
- Next, select Start Menu and search for Setting,
- Select Update & Security,
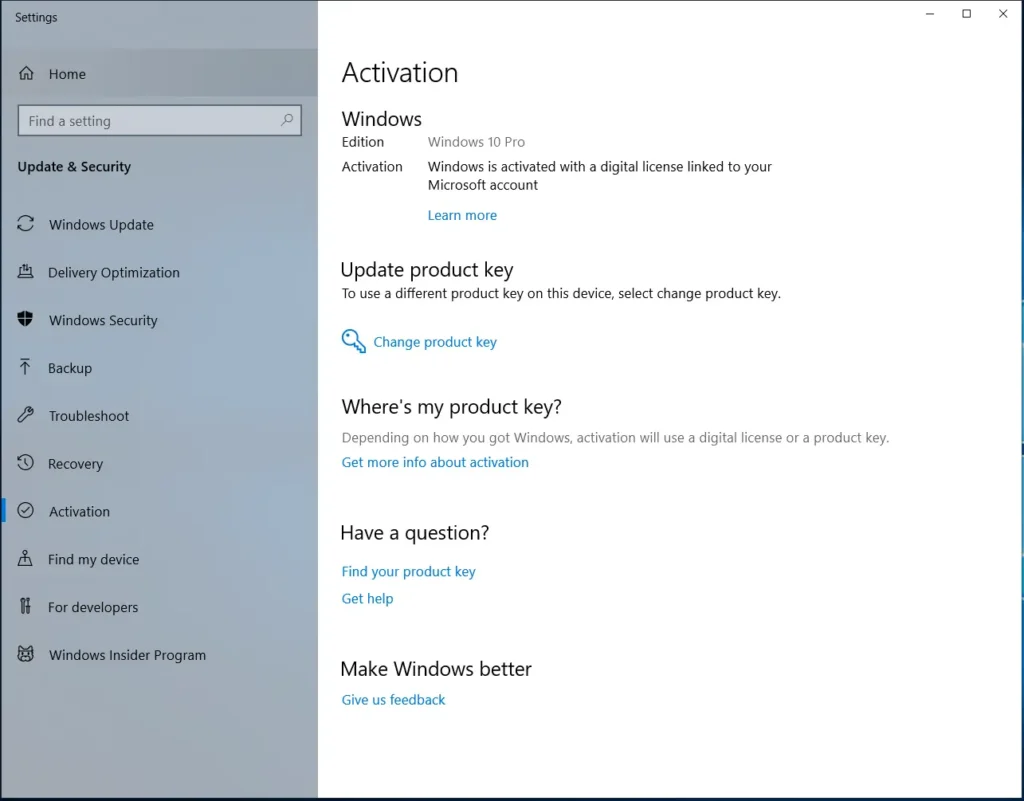
- On the left sidebar, you will see Activation, Select Activation,
- Now, select Go to the Store in the activation section,
- This will take you to the Windows Store where you can purchase the upgrade by clicking the buy button,
- Finally, Log in with your Microsoft account, enter your payment methods and windows will upgrade in no time.
Upgrade Windows 10 Home to Pro via License Key/ Product Key
If you buy a retail copy of Windows 10 pro in less than what Microsoft charges, you will have a Product key or a license key. Or you can just buy product key separately without having to buy the CD. What you need to do now is just replace the product key with the previous key. Follow the steps
- Make sure your Windows does not have any pending updates,
- Click on the Start Menu > Settings > Updates & Security > Activation,
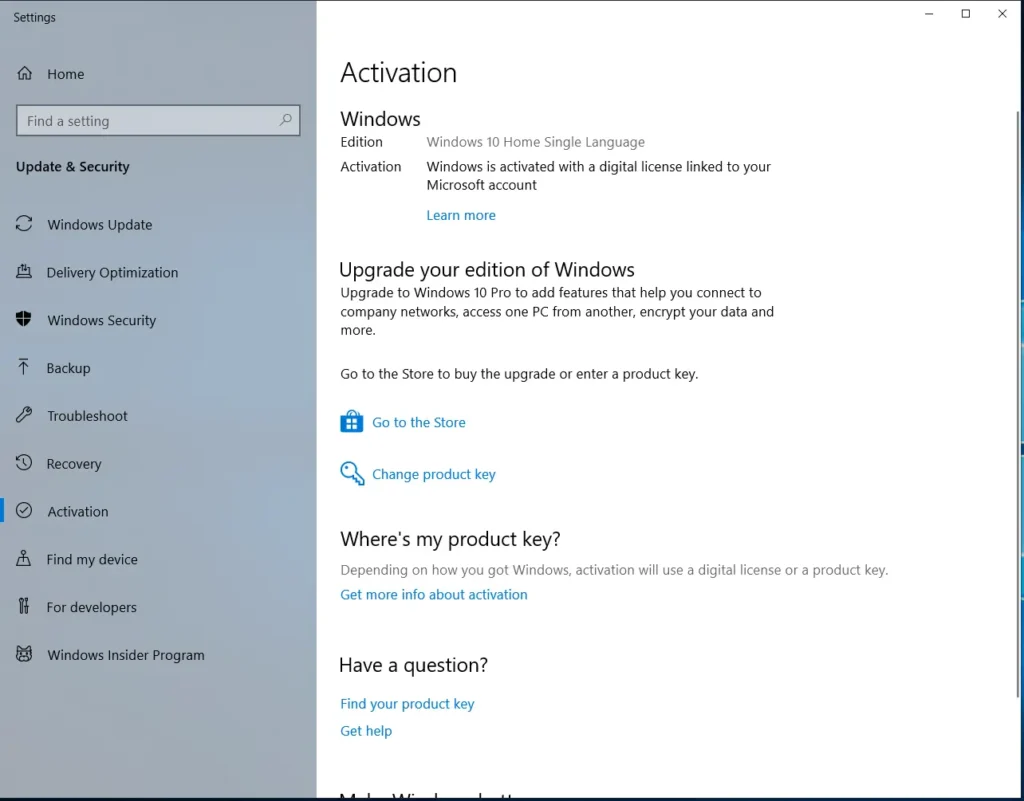
- In the Activation section, you will see Change product key, Select the link,
- Now enter the 25-Digit Windows product key, and click Next,
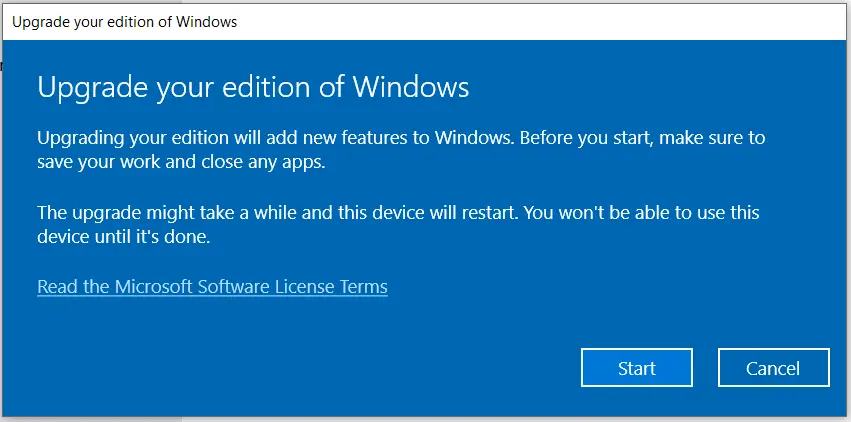
- If your key is correct or valid, the upgrade will start on its own.
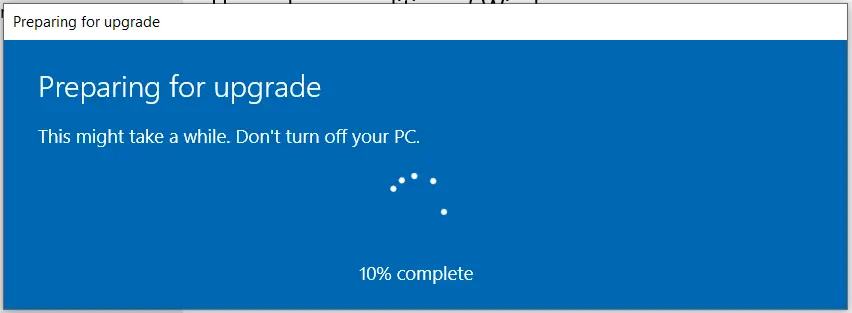
Once the setup completes, you will get a message that your windows have been upgraded. You have successfully upgraded Windows 10 Home to Pro.
Upgrade Windows 10 Home to Pro [Fresh Installation]
- Burn ISO file image on a flash drive or buy the installation DVD,
- Buy Windows 10 Pro serial key from Amazon or Microsoft,
- Backup all your files from your hard drive as you will be formatting and erasing all your data from your hard drive,
- Connect USB flash drive to your computer while your computer is turned off,
- Now, turn on your computer and press the function key that will open the boot-device selection menu, for most of the device, to open the boot menu you need to press either Esc, F2, F10 or F12 keys,
- As the boot menu opens, you will see list of the option you can choose to boot; it will show your hard drive, CD drive, and the flash drive, select the option that boots your computer from the USB flash drive,
- Now, your computer will boot and opens Windows Setup wizard. Click on the Install now button. And enter your Windows 10 Pro key to activate windows. Follow the instruction to install Windows 10 pro. When you reach to the page that says “Which type of installation do you want?” choose “Custom: Install Windows Only (advanced)” this option lets you to make changes to your hard drive, creating a partition. While the Upgrade option will keep the previous file and install a new operating system on top of these files,
- Now, you will see your partitions if you have any in the next step, it will show the drives and its size. If you want to create a partition, select the drive, and click Delete in the options. This will create Unallocated Space, which can be divided into partitions. Now choose a drive where you want to install the Windows and click next.
- Now Windows 10 is installing; you require to perform a restart of your computer. When your computer starts, you need to select the setting and customize the setting as per your need.
- Remove the flash drive after installation completes. You have upgrade windows 10 home to pro.
